I have problems sending and receiving emails on my OPPO Find X2 Pro
If you can't send and receive emails, there may be several causes of the problem.
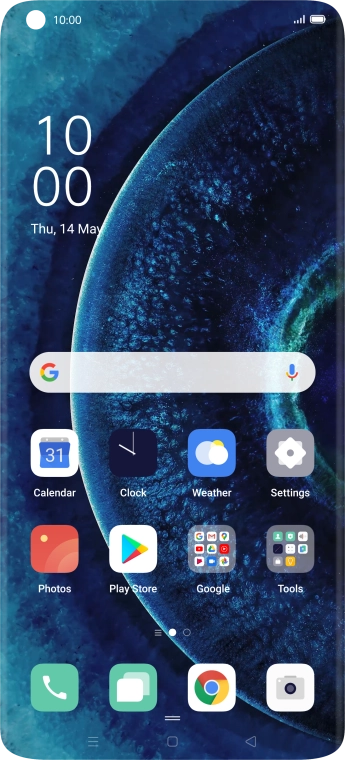
Slide two fingers downwards starting from the top of the screen.
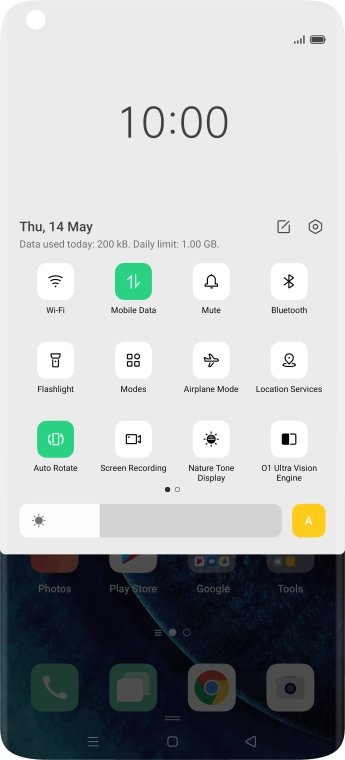
Press the settings icon.
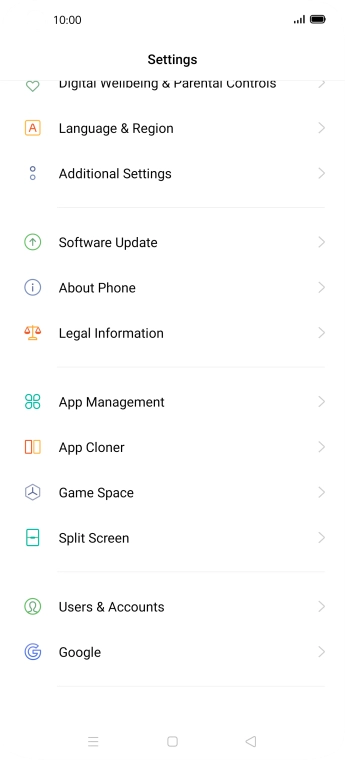
Press Users & Accounts.
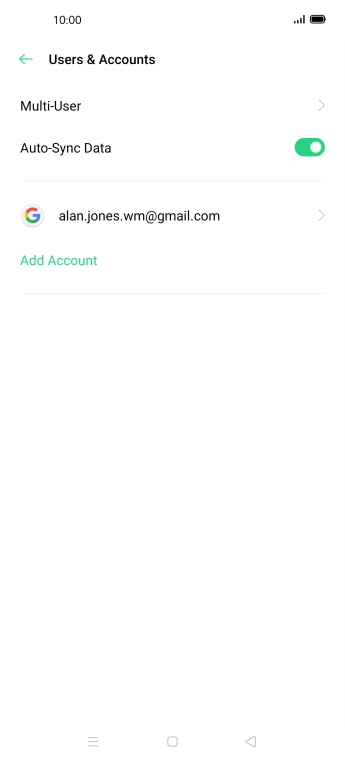
Press Add Account.
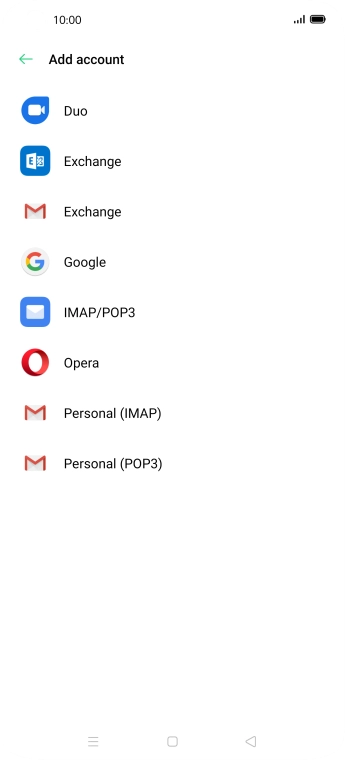
Press IMAP/POP3.
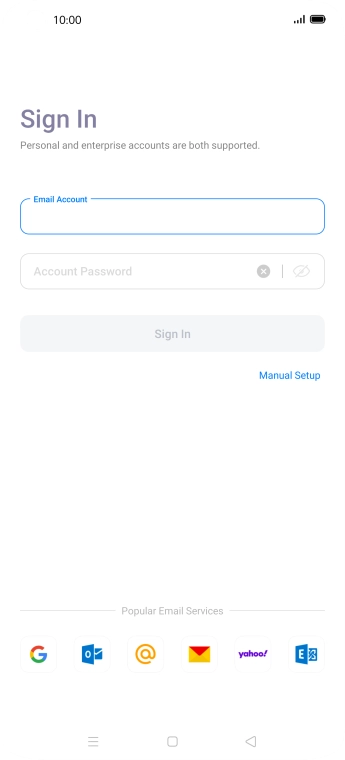
Press the field below 'Email Account' and key in your email address.
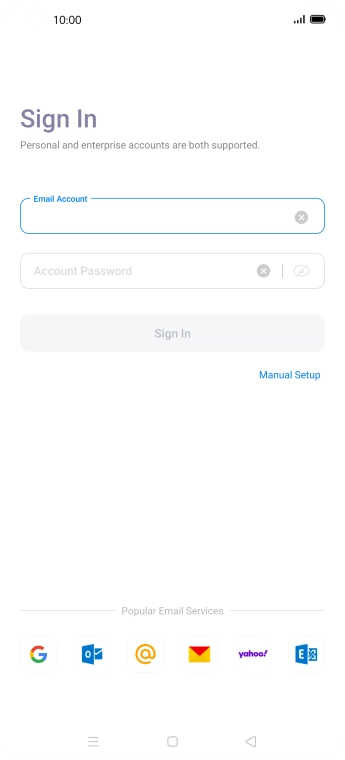
Press Account Password and key in the password for your email account.
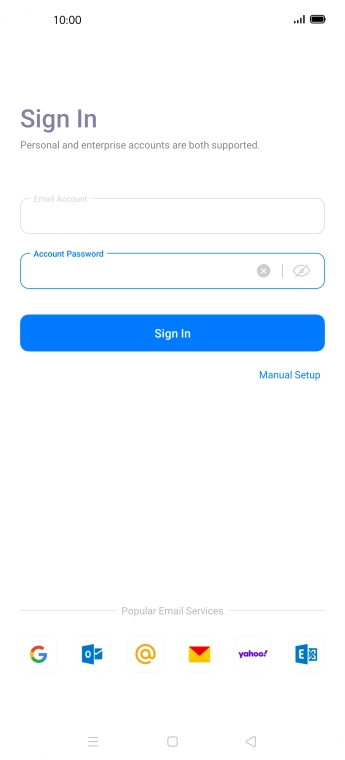
Press Sign In.
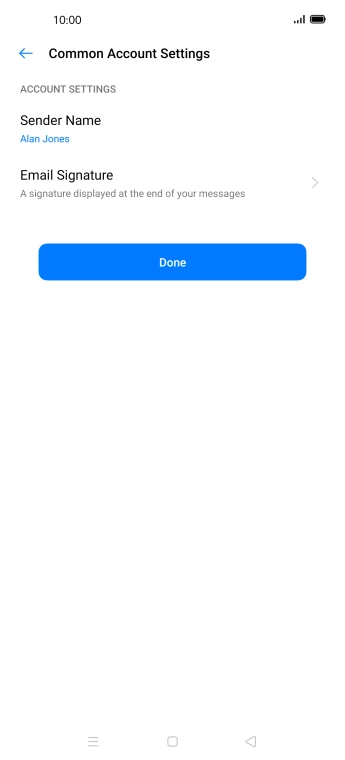
Press Sender Name and key in the required sender name.
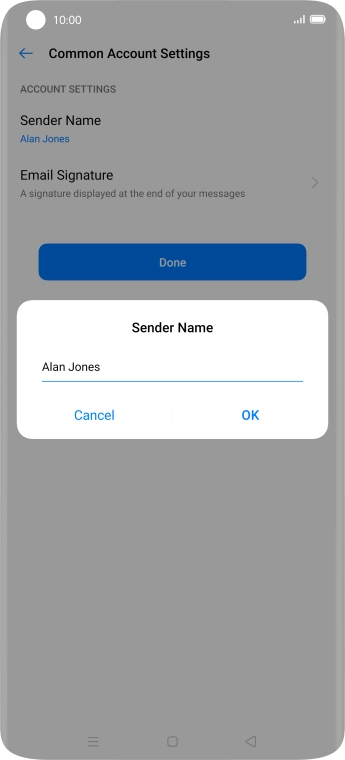
Press OK.


Press Done.
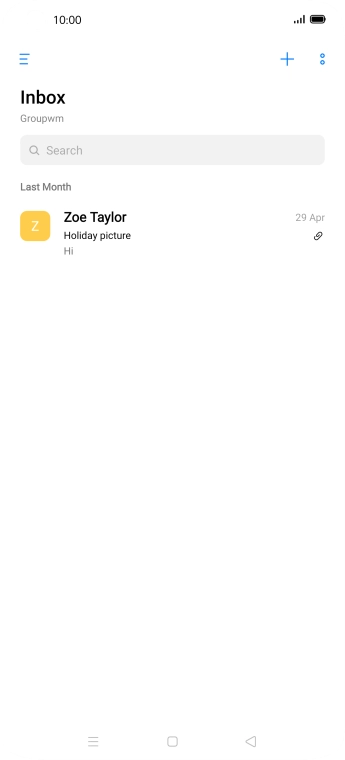
Slide your finger right starting from the left side of the screen.
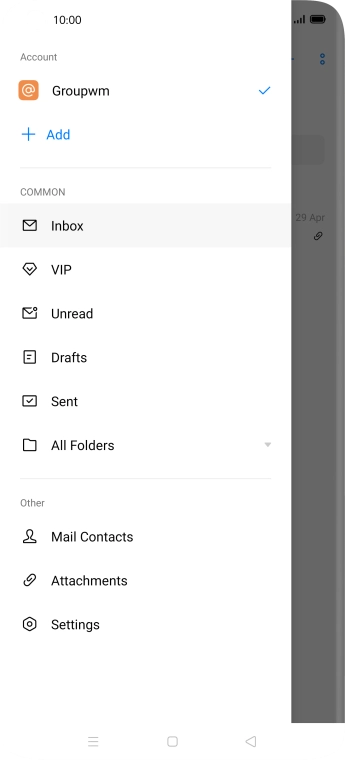
Press Settings.
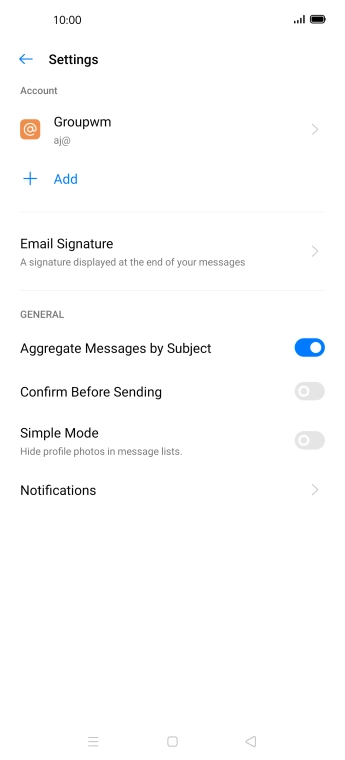
Press Notifications.
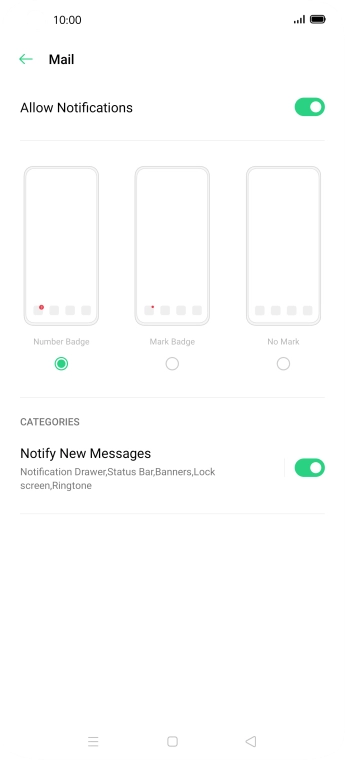
Press the indicator next to 'Allow Notifications' to turn the function on or off.


Press the Return key.


Press the required email account.
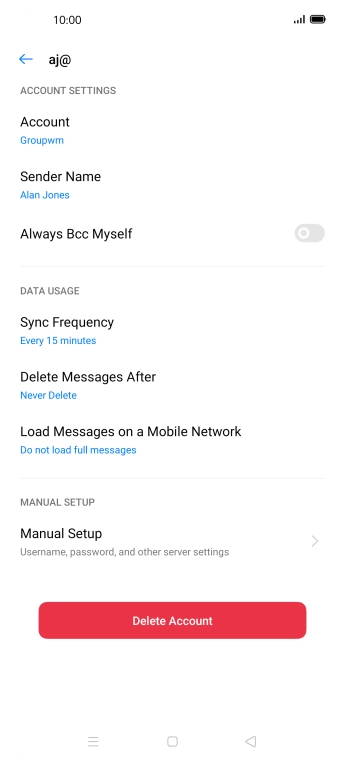
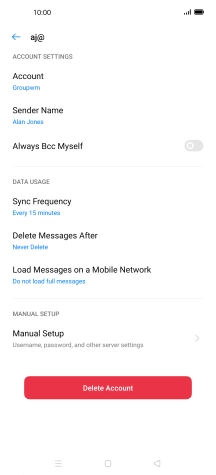
Press Account and key in the required name.
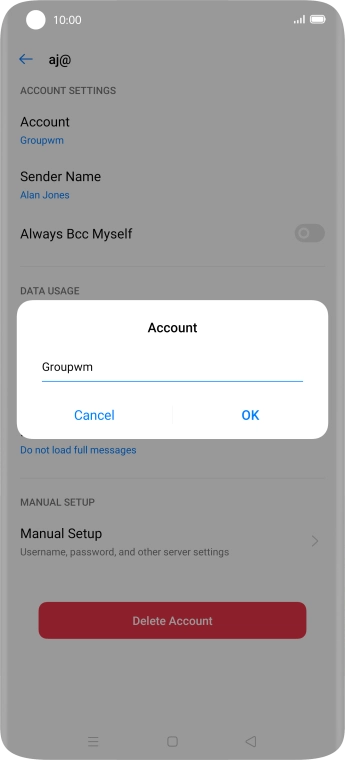
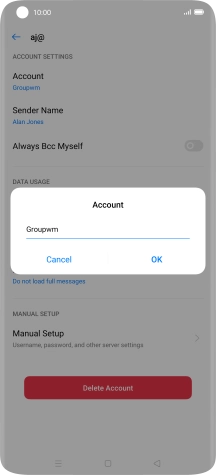
Press OK.


Press Sync Frequency.
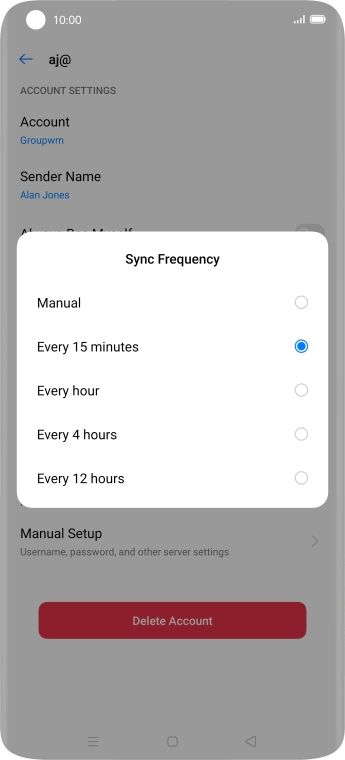
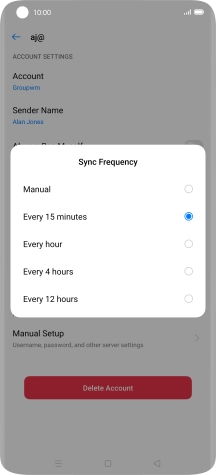
Press the required setting.


Press Manual Setup.
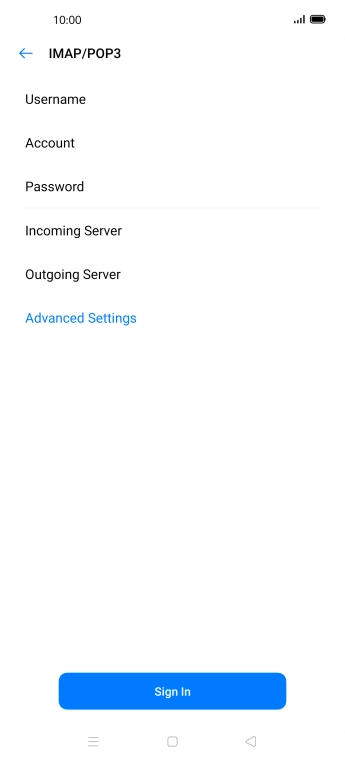
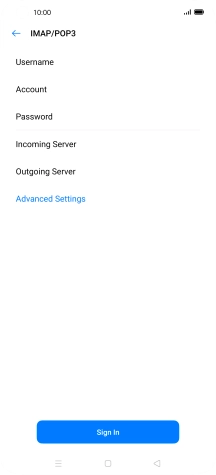
Press Advanced Settings.
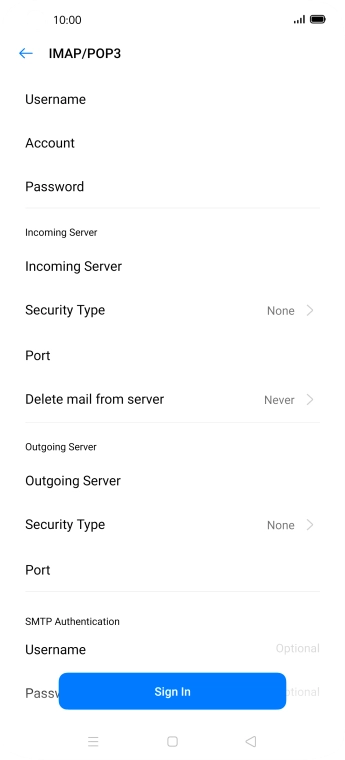
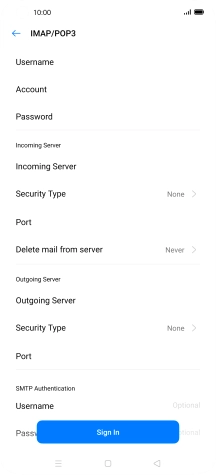
Press Username and key in the username for your email account.


Press Incoming Server and key in the name of your email provider's incoming server.


Press Security Type.
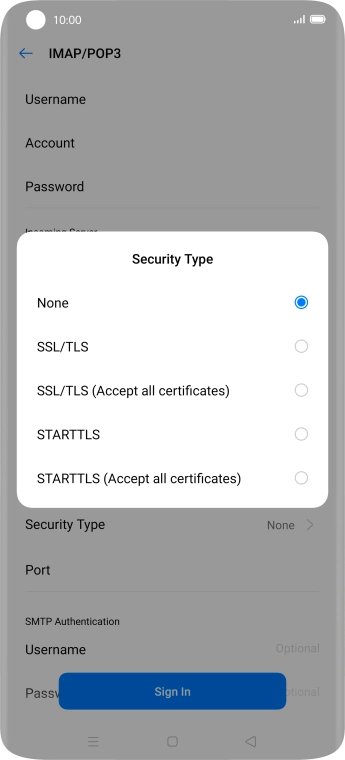
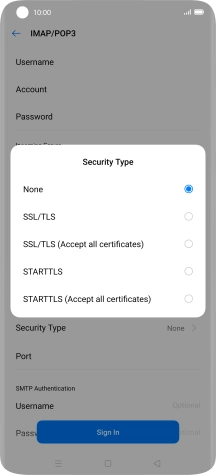
Press None.


Press Port and key in 110.


Press Outgoing Server and key in the name of your email provider's outgoing server.


Press Security Type.
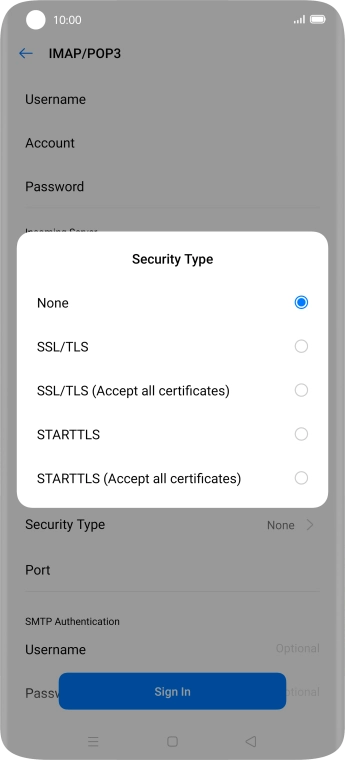
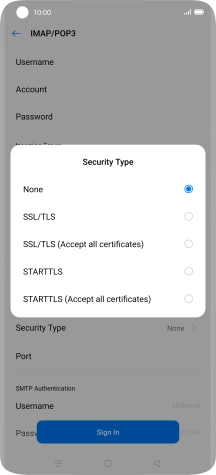
Press None.


Press Port and key in 25.
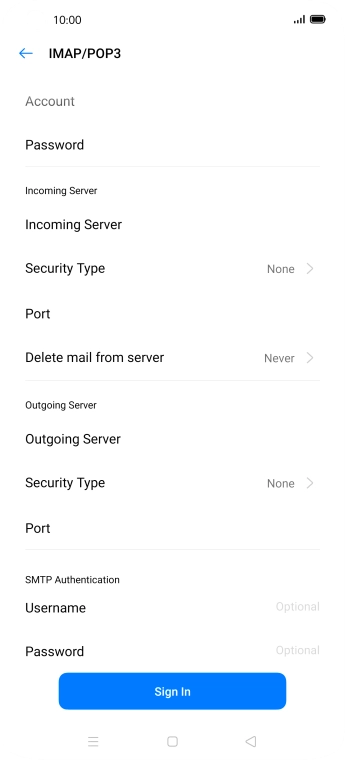
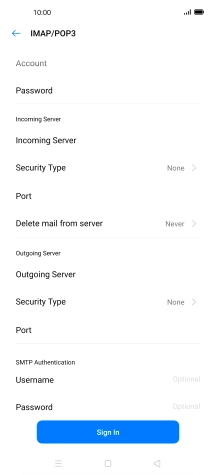
Press Username and key in the username for your email provider's outgoing server.


Press Password and key in the password for your email provider's outgoing server.


Press Sign In.


Press the Home key to return to the home screen.


Slide your finger upwards on the screen.
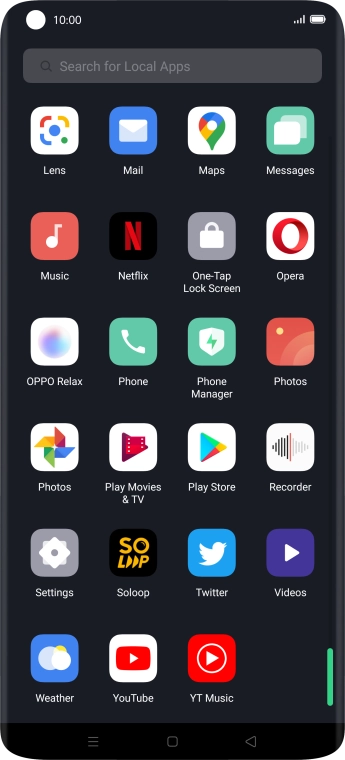
Press Mail.
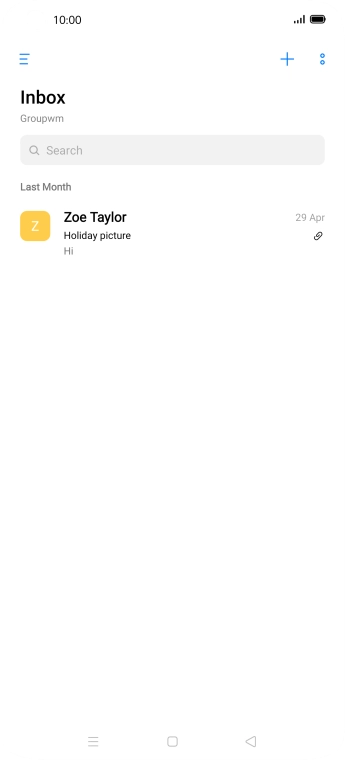
Slide your finger right starting from the left side of the screen.
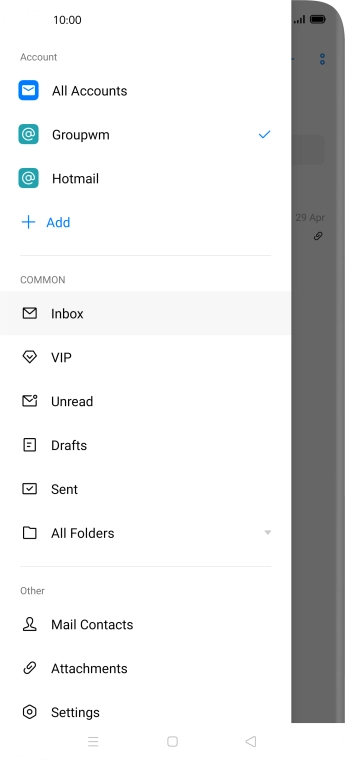
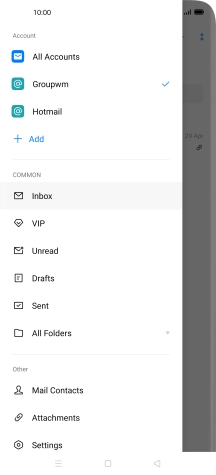
Press the required email account.


Press the new email icon.
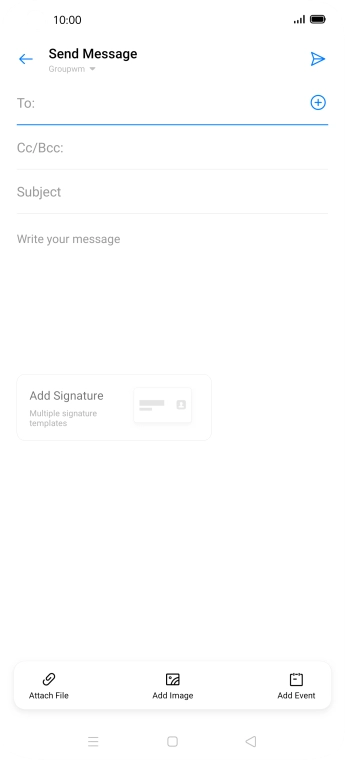
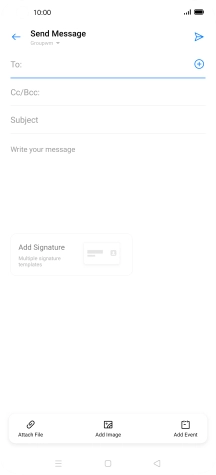
Press the field next to 'To:' and key in the first letters of the recipient's name.
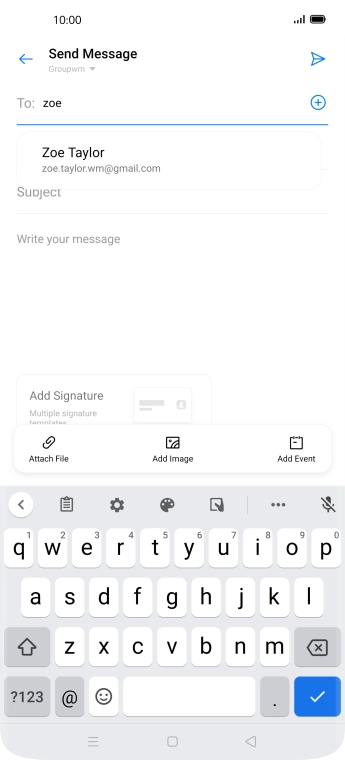
Press the required contact.
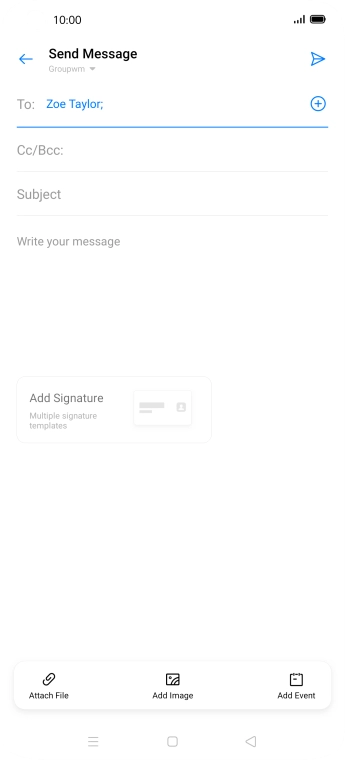
Press Subject and key in the required subject.
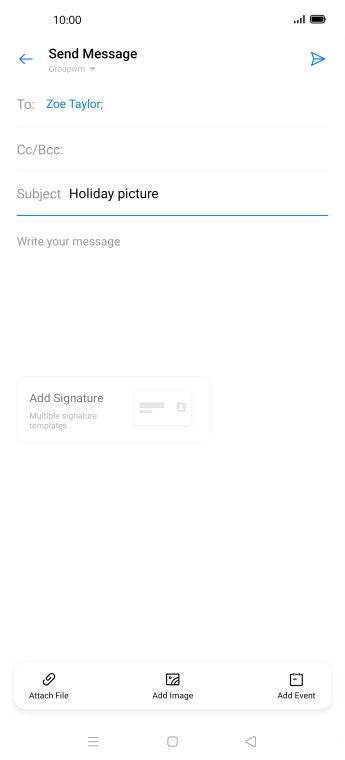
Press the text input field and write the text for your email.
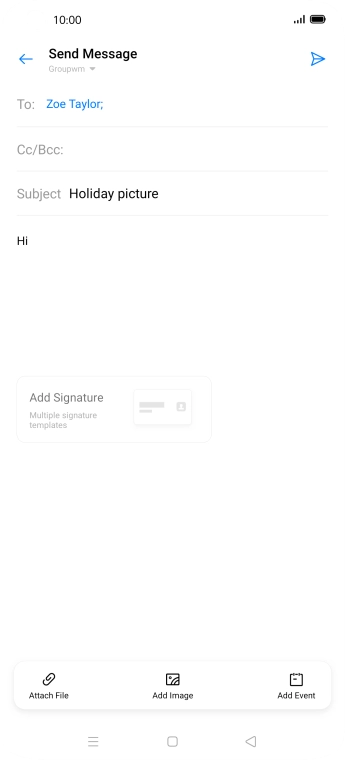
Press Attach File and go to the required folder.
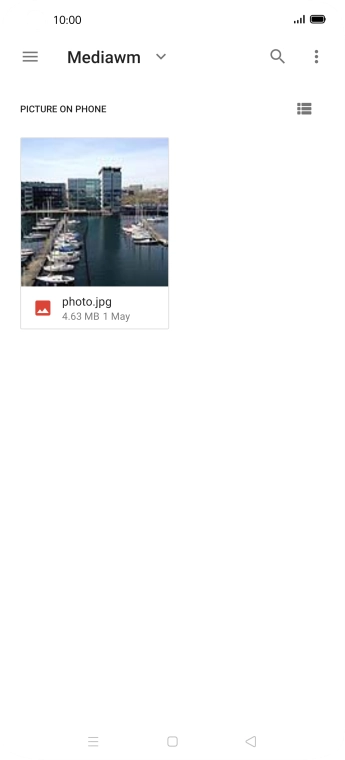
Press the required file.
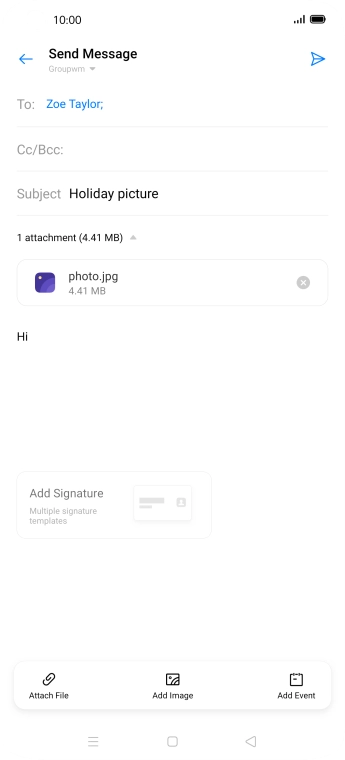
Press the send icon when you've finished your email.


Press the Home key to return to the home screen.
Contact your email provider for the correct settings for the incoming or outgoing server.


Slide two fingers downwards starting from the top of the screen.


Press the settings icon.


Press Users & Accounts.


Press Add Account.


Press IMAP/POP3.


Press the field below 'Email Account' and key in your email address.


Press Account Password and key in the password for your email account.


Press Sign In.


Press Sender Name and key in the required sender name.


Press OK.


Press Done.


Slide your finger right starting from the left side of the screen.


Press Settings.


Press Notifications.


Press the indicator next to 'Allow Notifications' to turn the function on or off.


Press the Return key.


Press the required email account.


Press Account and key in the required name.


Press OK.


Press Sync Frequency.


Press the required setting.


Press Manual Setup.


Press Advanced Settings.


Press Username and key in the username for your email account.


Press Incoming Server and key in the name of your email provider's incoming server.


Press Security Type.


Press None.


Press Port and key in 143.


Press Outgoing Server and key in the name of your email provider's outgoing server.


Press Security Type.


Press None.


Press Port and key in 25.


Press Username and key in the username for your email provider's outgoing server.


Press Password and key in the password for your email provider's outgoing server.


Press Sign In.


Press the Home key to return to the home screen.
